
Throw Food For Baddies Food Upgrade Priority Tier List
Buy order for food so distance, luck, and area unlocks climb without wasted cash.
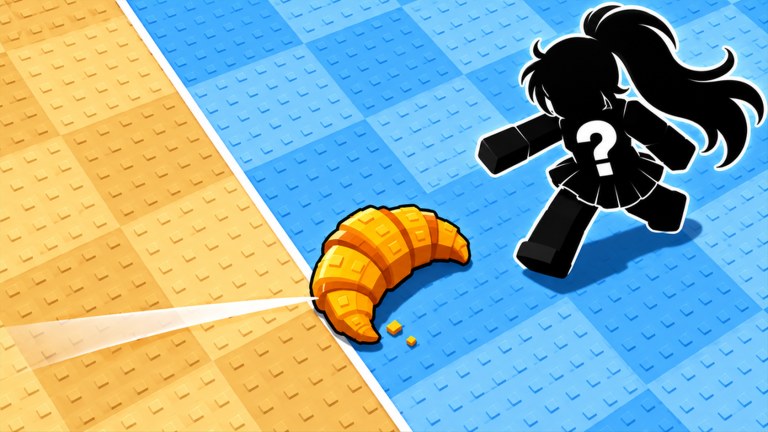
Food is your ammunition in Throw Food For Baddies. Better food flies farther, farther landings raise luck, and higher luck attracts stronger Baddies. This food tier list is a spend-priority guide for the Shop: what to buy first, when to save, and how food upgrades interact with Throwing Strength, perfect throws, and map gates.
Why food ranking matters
Money/s from your base—especially offline—creates a steady wallet. Spending it on the wrong Shop items delays the next area, which delays rarer catches, which delays even more Money/s. Food upgrades are the cleanest way to convert income into distance. Pair them with pull-up training rather than treating either system alone as enough.
Priority tiers
Because exact item names can expand after patches, we rank by role in the November 2026 launch meta. Apply the same logic when new foods appear after the New Area + Admin Abuse event window.
S-tier — Distance breakthrough foods
Purchases that clearly extend max throw range into the next unlocked band. If a Shop item description or community testing shows a jump that reaches a new zone marker, buy it as soon as you can without emptying reserve cash needed for the accompanying strength grind. These foods unlock the luck curve that feeds Exotic hunts.
A-tier — Efficient mid upgrades
Steady range bumps that feel good even before a full area gate. Buy these when S-tier is still too expensive but Commons are filling your inventory. They make perfect throws more rewarding because the power bonus multiplies a stronger base projectile.
B-tier — Situational or minor bumps
Small upgrades that help early on but become obsolete quickly. Purchase only if leftover cash remains after training sessions and you are not within reach of an S/A food. Avoid stacking many B-tier snacks if one A-tier purchase is two short sessions away.
C-tier — Novelty or trap spends
Cosmetics-adjacent foods, tiny percentage bumps with huge price tags, or items that do not move your personal distance record. Skip until your base Money/s is comfortable and all map gates you can physically reach are open.
Buy order checklist (early game)
- Redeem codes (
RELEASE,RAINBOW) via how to redeem so income and luck tools are online. - Place every Baddie for Money/s (getting started).
- Buy the cheapest food that improves range if your starter cannot clear the first landmark.
- Train Throwing Strength between Shop visits—strength multiplies food quality.
- Save for the next S/A food that targets the following area gate.
- Only then consider minor B-tier snacks.
Food + strength synergy
Think of food as the engine and Throwing Strength as the rev limiter. A maxed snack with a weak arm underperforms; a strong arm with starter food also caps out. Alternate:
- Short training blocks on pull-up bars.
- One meaningful food upgrade.
- A set of timed perfect throws to test new distance.
- Collect, place, fuse decisions (fuse guide).
- Repeat.
When a Lucky Throw is ready, do not spend it until both food and strength support a personal best attempt.
How food affects luck and rarity
Luck rises with distance. Food that adds range therefore indirectly raises Baddie quality. Players who only upgrade base creatures without touching food eventually stall on Common/B-tier catches even with great fusion luck. Conversely, food-focused players who never place high-size Baddies fail to afford the next Shop tier. Balance both lists.
Mid-game spending rules
- Keep a cash buffer equal to at least one training cycle plus one food upgrade.
- After friend bonuses (+15% each) kick in, recalculate what you can afford—social play accelerates Shop tiers (earn money).
- When a new area drops, expect new foods. Re-evaluate S-tier instead of blindly maxing the old track (updates).
- Leaderboard chasers optimizing Best Pull should prioritize range foods even harder than Money/s chasers, who may temporarily favor roster upgrades.
Common mistakes
Buying every food in order without testing throws. Always measure a few perfect throws after a purchase to confirm the upgrade mattered.
Ignoring pull-up bars. Food alone will not carry you through every gate.
Dumping Rainbow Egg value into impulse snacks. Hatch and place first; let Money/s rise; then buy.
Spending the last coin before an Admin Abuse event. Sometimes events grant temporary boosts—holding a small reserve can help you snap up a newly revealed food.
Using scripts to auto-buy. Unnecessary and risky; see the Scripts Hub.
Sample session plan
Warm-up: 5–10 pull-ups worth of strength training.
Shop: Purchase the highest tier food you can safely afford (S > A > B).
Field: 10–20 perfect-throw attempts toward the farthest safe marker.
Base: Place upgrades, note Money/s change, fuse clear Commons.
Bank: Stop shopping when the next S-tier costs more than ~two offline cycles of income—go AFK or play with friends, then return.
Related pages
- Tier List Hub — overview and ranking method
- Baddies Tier List — what your food helps you catch
- Perfect Throw — convert upgrades into distance
- Throwing Strength — training loop
- Areas — where better food pays off
- Earn Money — funding the Shop
Follow this priority list and every Robux-free coin from your base turns into farther throws—and farther throws are how Exotic dreams actually spawn.
Frequently Asked Questions
Quick answers about codes, Baddies, throws, and Money/s.
What food should I buy first in Throw Food For Baddies?
Buy the cheapest upgrade that meaningfully increases throw distance toward the next area gate, then alternate with Throwing Strength training.
Is food more important than Baddies?
You need both. Food extends distance and luck; Baddies fund the Shop through Money/s. Neglecting either stalls progression.
Should I buy every food upgrade in order?
Not blindly. Skip tiny C-tier bumps when an A- or S-tier distance breakthrough is nearly affordable.
Do food upgrades affect luck directly?
Luck scales with distance. Better food raises distance potential, which raises luck and better Baddie odds on strong throws.
When should I save money instead of buying food?
Save when the next S-tier food is close, when you need a cash buffer before an event, or when strength training will unlock more value from your current food.