
Throw Food For Baddies Tier Lists for Baddies & Food
Rarity, size, and upgrade priority rankings for smarter keeps, fuses, and shop buys.
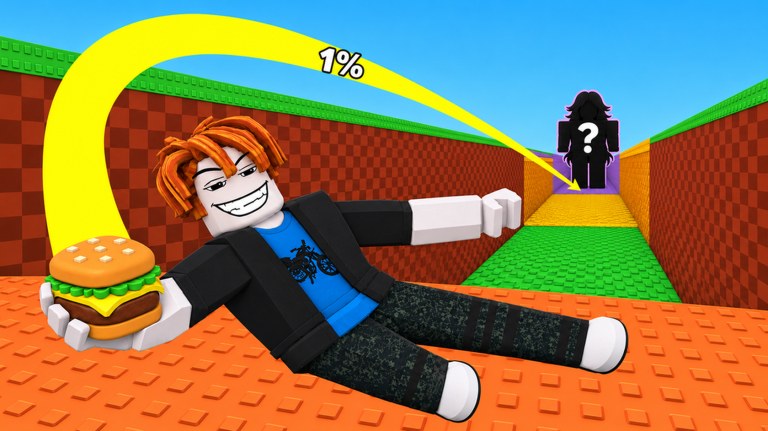
The Tier List Hub ranks the two economies that matter most in Throw Food For Baddies: the Baddies you collect and the food you buy to throw farther. Because Money/s ticks in your base even while you are offline, every keep, fuse, and purchase decision compounds. Use these lists after you redeem codes, learn perfect throws, and start training strength.
Throw Food For Baddies is a Roblox simulation/tycoon by Collect Rare Baddies. The loop is throw for distance → perfect throw for power → luck rises with distance → attract Baddies from Common through Exotic → place them for Money/s → buy better food → train on pull-up bars → unlock farther areas → fuse mutations → stack friends for +15% income → climb leaderboards. Tier lists compress that decision space.
Start here
Baddies Tier List
Covers rarity bands (Common → Exotic), why Big / Huge / Colossal sizes pay more Money/s, how luck and distance change catch quality, and which units to keep versus feed into fusion. Pair with Rainbow Egg hatches from code RAINBOW.
Food Tier List
Prioritizes food upgrades so your shop spend raises throw distance instead of stalling on vanity buys. Better food plus strength training is what unlocks the next map band.
How to read our tiers
We rank for progression value, not cosmetic flex:
- S-tier — Best Money/s or distance impact for the stage; protect these.
- A-tier — Strong keeps or buys; fuse only when you have clear upgrades.
- B-tier — Solid fillers while you climb; replace as luck improves.
- C-tier — Early scaffolding or fuse food once better options arrive.
- Size callouts — Within the same rarity, larger sizes generally earn more. A Huge uncommon can beat a tiny higher label in raw Money/s—always check the base tooltip.
Tiers will shift after major patches. The New Area + Admin Abuse window announced for Sunday, November 22 may introduce new Baddies or foods—revisit this hub after update notes land.
Decision framework
- Distance first — If you cannot reach the next area, prioritize food and Throwing Strength over collecting every Common.
- Income second — Fill base slots with the best rarity/size mix you own so offline Money/s funds the next shop tier.
- Luck third — Spend Lucky Throws (code
RELEASE) when food + strength already support long throws. - Fusion fourth — Duplicate low-value units become mutation fuel; read fuse mutations before dissolving uniques.
- Social fifth — Friend bonuses multiply whatever roster you kept; invite before long AFK sessions.
Cross-links into gameplay guides
Tier knowledge sticks when you practice it:
- New players: Getting Started
- Luck and timing: Perfect Throw
- Muscle progression: Throwing Strength
- Map unlock order: Areas
- AFK income: Earn Money
- Free boosts: Codes Hub and How to Redeem
Avoid shady “ESP rarity” scripts; the Scripts Hub explains the risks. Manual tier discipline is enough for strong early leaderboard climbs.
Related hubs
- Guides Hub — full walkthrough set
- Players Hub — Best Pull, Most Baddies, Top Money/s context
- Updates Hub — when rankings may change
- Wiki Hub — official Roblox and group links
Open the Baddies list when your inventory feels cluttered. Open the Food list when your wallet is burning and you are unsure what to buy next. Together they replace guesswork with a repeatable upgrade path.
Frequently Asked Questions
Quick answers about codes, Baddies, throws, and Money/s.
Which Throw Food For Baddies tier list should I read first?
Start with the Baddies tier list if your base income feels weak, or the food tier list if your throws cannot reach the next area yet.
Do Big, Huge, and Colossal Baddies outrank smaller ones?
Generally yes—larger sizes produce more Money/s within similar rarities. Always confirm with the in-game tooltip before fusing.
Will these tiers change after updates?
Yes. New areas, foods, or Admin Abuse rewards can reshuffle value. Re-check this hub after major patches.
Should I fuse Exotic Baddies?
Usually keep high rarities and large sizes. Fuse duplicates or clear underperformers as explained in the fuse mutations guide.