
Throw Food For Baddies How to Land Perfect Throws
Timing, power, luck scaling, and when to spend Lucky Throw boosts.
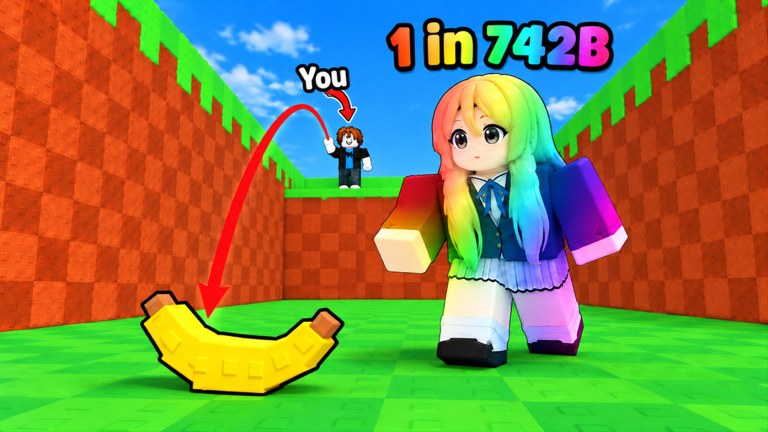
A perfect throw is the skill check at the heart of Throw Food For Baddies. Anyone can tap to toss food; players who consistently hit the perfect release window travel farther, gain more luck from that distance, and attract higher-rarity Baddies for their base. This guide explains the timing mindset, how perfect throws interact with food and Throwing Strength, and how to combine them with Lucky Throws from the Codes Hub.
What a perfect throw does
Landing in the perfect window grants extra power on that throw. Extra power increases distance. Distance increases luck. Luck improves the odds of attracting better Baddies along the Common → Exotic ladder, including stronger sizes like Big, Huge, and Colossal. In short: timing is an economy stat.
Spam-clicking without regard for the meter or cue wastes food potential and Lucky Throw charges. Ten intentional perfect attempts beat fifty random flicks.
Pre-throw checklist
Before you go for a record pull:
- Equip the best food you currently own (food tier list).
- Complete a short Throwing Strength session on pull-up bars if you are soft.
- Face a clear lane toward the farthest unlocked area marker.
- Clear UI clutter (chat, Shop) so timing cues stay visible.
- Decide whether this attempt will spend a Lucky Throw (code
RELEASE). If yes, make sure steps 1–3 are done first.
Timing technique
Exact on-screen indicators can vary with patches, but the player skill is consistent:
- Start the throw input and watch the power/timing feedback.
- Release when the indicator sits in the perfect zone—not early panic, not late drag.
- Follow through on the same aim line; last-second camera yanks bend shots into walls or short grass.
- After release, track the landing. Mentally note whether the throw was Early, Perfect, or Late so you can correct the next one.
Mobile tip: use a stable grip; fat-finger releases often read as early. Desktop tip: do not hold chat focus. Console tip: settle aim with the stick before committing to the timing button.
Practice routine (10 minutes)
- Warm up with five throws ignoring distance—only judge perfect vs not.
- Take ten throws aiming at a mid landmark; count perfects.
- Take ten throws at max comfortable distance.
- If perfect rate is under ~50%, keep practicing before spending Lucky Throws.
- If perfect rate is strong, attempt a personal best with Lucky Throw active.
Log your Best Pull mentality even if you are not chasing the Players board yet—the habit builds consistency.
Luck and Lucky Throw synergy
Community guides commonly describe Lucky Throw as a large luck multiplier on the next throw (often cited around ~10x). That bonus is wasted if the food lands near spawn. Sequence:
- Upgrade food and strength.
- Confirm you can hit perfect timing on long attempts.
- Activate or consume Lucky Throw per in-game UI.
- Immediately perform a focused perfect throw into the deepest safe zone.
- Collect whatever appears; place upgrades using Baddies tiers.
Redeem help: How to Redeem. Rainbow Eggs (RAINBOW) are separate—hatch them for base income rather than confusing them with throw boosts.
Perfect throws across areas
As you unlock farther areas, visual scale changes. A release that felt perfect in the starter lane may need aim elevation adjustments toward new horizons. After each area unlock:
- Relearn the silhouette of a max throw.
- Expect new obstacles or elevation.
- Re-test without Lucky Throw before spending boosts.
Event maps arriving with Admin Abuse / New Area drops (announced for Sunday, November 22) may reset your muscle memory—see launch notes.
Linking throws to Money/s
Perfect throws are not only for rarity flex. Better catches raise base Money/s, which buys better food, which makes perfect throws land even farther. Close the loop with Earn Money habits: place upgrades instantly, stack friends for +15% each, and avoid long AFK sessions with empty slots.
Fusion comes later—do not dissolve a fresh high-luck catch until you read Fuse Mutations.
Mistakes that kill distance
- Throwing while the Shop menu is half-open.
- Moving aim during the timing window.
- Using Lucky Throw on the first throw of a session.
- Ignoring strength training for an entire evening.
- Standing in a cramped spawn corner with no lane.
- Celebrating a perfect cue that still aimed at the ground five studs away—timing without aim is incomplete.
Advanced mindset
Treat each throw like a turn-based decision:
- Resource: food tier, strength, lucky charges.
- Action: perfect release on a chosen vector.
- Reward: distance → luck → Baddie quality → Money/s.
Players who internalize that chain climb Best Pull and Most Baddies boards without needing risky scripts. Automation cannot teach you to read a new area’s horizon—you can.
Related pages
- Getting Started — unlock basics first
- Throwing Strength — power behind the timing
- Areas — where long throws matter
- Codes Hub — Lucky Throw supply
- Baddies Tier List — evaluate catches
- Guides Hub — full list
Master the perfect window and Throw Food For Baddies stops feeling like random pet RNG and starts feeling like a sport you can grind.
Frequently Asked Questions
Quick answers about codes, Baddies, throws, and Money/s.
What is a perfect throw in Throw Food For Baddies?
It is a correctly timed release that grants extra power, sending food farther so luck and Baddie quality can rise.
Should I use Lucky Throw on every attempt?
No. Save Lucky Throws for long-distance perfect attempts after food and Throwing Strength are upgraded.
Why do my perfect throws still feel short?
Food tier and Throwing Strength cap distance even with perfect timing. Train pull-ups and buy better food.
Does distance really affect luck?
Yes. Luck rises with how far the food travels, which is why perfect throws feed the rarity ladder.
How often should I practice timing?
Warm up with a short perfect-only set every session before spending boosts or pushing new areas.