
Throw Food For Baddies Guides & Walkthroughs
From first throw to Exotic hunts—every core system explained with clear next steps.
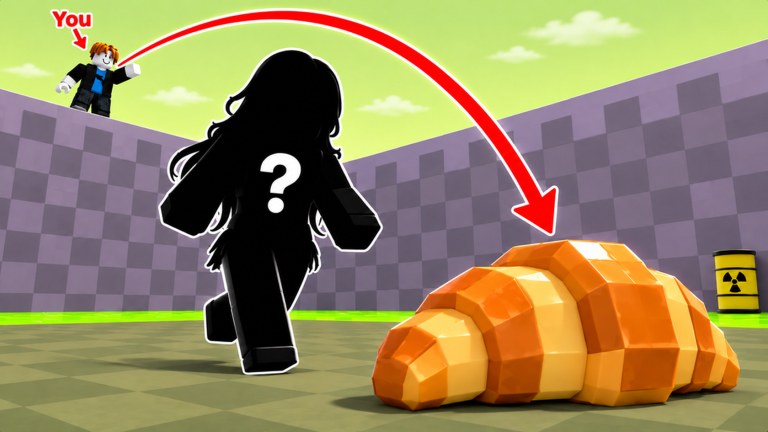
Welcome to the Guides Hub for Throw Food For Baddies on Roblox. These walkthroughs teach the full simulation/tycoon loop published by Collect Rare Baddies: throw food as far as possible, nail perfect throws for extra power, watch luck rise with distance, collect Baddies from Common to Exotic, place them for Money/s (including offline), buy better food, train Throwing Strength on pull-up bars, unlock farther areas, fuse mutations, and stack friend bonuses for +15% income each while chasing leaderboards.
If you only open one page after installing the game, make it Getting Started. Then branch into the mechanic guides below as each system unlocks.
Guide index
Getting Started
First-hour checklist: HUD, Shop, codes, first throws, base placement, and what to ignore until later.
Perfect Throw
Timing the power window, reading distance, and pairing perfect throws with Lucky Throw boosts from code RELEASE.
Throwing Strength
Pull-up bar training routes, how strength multiplies food tier, and when to train versus shop.
Fuse Mutations
When to fuse duplicates, how mutations fit the rarity/size ladder, and mistakes that delete good earners.
Areas
Map progression mindset—how farther zones raise luck ceilings and what stats you need before pushing.
Earn Money
Money/s optimization, offline income habits, friend stacking, and funding food upgrades efficiently.
Suggested learning path
Day one: Getting Started → redeem codes with how to redeem → Perfect Throw basics → place all Baddies.
Day two: Throwing Strength loop → food tier buys → push first new area → skim Baddies tiers.
Day three-plus: Earn Money refinements → Fuse Mutations → leaderboard goals on the Players Hub → watch Updates for the November 22 New Area + Admin Abuse event.
How these guides connect to other hubs
- Codes shorten the early luck curve—always reclaim after patches.
- Tier lists tell you what to keep and buy once guides teach you how systems work.
- Players explain Best Pull, Most Baddies, and Top Money/s targets.
- Scripts are optional and risky; prefer manual mastery summarized on the Scripts Hub.
- Wiki / links point to the official place and Collect Rare Baddies group (Wiki Hub).
Tips that appear in every guide
- Internal progress beats impulse Robux spends for long-term Money/s.
- Perfect throws matter more than spam throws.
- Empty base slots earn nothing—fill them.
- Friend bonuses multiply whatever roster you already built.
- Event weekends can change map and code availability—read launch notes.
Related pages
Browse every guide linked above, then keep the Codes Hub and Tier List Hub bookmarked beside this page. When a system confuses you mid-session, jump straight to its guide rather than rerolling aimlessly.
This hub will grow if new mechanics ship (extra training tools, new fuse rules, or seasonal areas). Until then, the six guides here cover the entire core fantasy of throwing snacks at the horizon until rarer Baddies come home.
Frequently Asked Questions
Quick answers about codes, Baddies, throws, and Money/s.
Which Throw Food For Baddies guide should beginners open first?
Start with Getting Started, redeem codes, then learn Perfect Throw before heavy Shop spending.
Do I need every guide to enjoy the game?
No, but Perfect Throw, Throwing Strength, and Earn Money cover the three levers that unlock everything else.
Where do codes fit into the guides?
Redeem early via the Codes Hub, then use Lucky Throws during Perfect Throw practice and Rainbow Eggs while building Money/s.
Will new guides be added after events?
Yes—when new areas or systems launch we expand this hub and update linked walkthroughs.