
Throw Food For Baddies Areas & Map Progression
Unlock farther throw zones to raise luck ceilings and rarer Baddie odds.
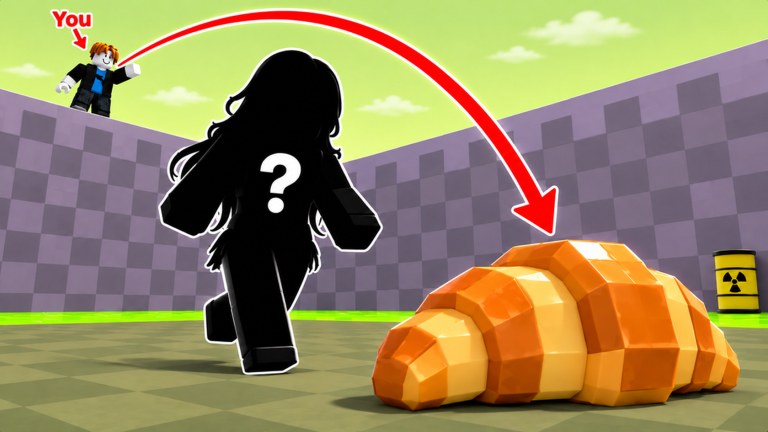
The map in Throw Food For Baddies is not just scenery—it is a progression ladder. Farther areas let food travel longer distances, and because luck rises with distance, new zones are literally higher rarity brackets. This guide explains how to think about area unlocks, what to upgrade before pushing, and how to prepare for announced map drops like the New Area + Admin Abuse event.
How areas fit the core loop
Throw food → land perfect throws → distance builds luck → collect Baddies (Common→Exotic) → place for Money/s → buy food → train Throwing Strength → unlock farther areas → fuse → stack friends → climb boards. Skipping area goals keeps you in a Common-heavy pond even with good timing.
Servers hold about 5 players, so you will often see others testing the same horizon lines. Use that as free scouting: watch where stronger throws land.
Progression mindset (not a spoiler dump)
Exact zone names can expand quickly after patches, so we rank progression by bands:
Starter band
Learn HUD, redeem codes, place every Baddie, and clear the first landmarks. Follow Getting Started. Goal: stable Money/s and consistent perfect timing.
Mid band
Requires noticeable food upgrades plus pull-up investment. Mid band throws should start producing better mid rarities and occasional Big/Huge sizes. Revisit Baddies tiers as inventory diversifies.
Far band
Demands intentional builds: S/A food priority, trained strength, and Lucky Throw discipline (RELEASE). This is where Exotic hunting becomes realistic. Do not blow boosts while still gated out of the far band.
Event / new areas
Collect Rare Baddies announced a New Area + Admin Abuse focus for Sunday, November 22. Event areas may temporarily change routes, spawn energy, or rewards. Read launch notes and the Updates Hub before spending all savings the morning of the event.
Unlock checklist before pushing a gate
- Money/s high enough to afford the next food tier after failures.
- Throwing Strength trained in the last session—not days ago only.
- Perfect throw accuracy warmed up.
- Lucky Throw reserved if the gate is a personal milestone.
- Base full so failed pushes still earn offline (earn money).
- Optional: friends online for +15% income to refund attempts faster.
If three or more checklist items fail, grind the missing systems instead of face-tanking the gate.
Reading the horizon
Each area band usually telegraphs itself with visible markers, terrain changes, or community pathing. When you unlock a new band:
- Re-learn aim elevation.
- Take non-boosted test throws.
- Note new collect paths so you do not lose Baddies in geometry.
- Update your personal Best Pull expectations on the Players Hub metrics.
Area pushing session plan
Warm-up (5 min): pull-ups + timing practice.
Shop (2 min): buy the highest practical food upgrade.
Push set (10–15 min): only throws aimed at the gate/landmark.
Reset (5 min): place catches, fuse only clear Commons (fuse guide), hydrate, repeat.
Stop if frustration breaks timing—perfect throws pay more than tilted spam.
Money planning around areas
New areas often tempt panic buying. Use the food tier list so you purchase distance breakthroughs rather than novelty snacks. Keep a buffer for post-unlock foods that may appear inside the new zone.
Rainbow Eggs (RAINBOW) help fund pushes via better Money/s—hatch and place before a long unlock grind (how to redeem).
Social and leaderboard angles
Farther areas feed Best Pull distance and Most Baddies volume. Top Money/s still depends on what you place, but rarer zone catches accelerate that board too. Coordinate with friends: one player scouts while another trains, then swap—small servers make cooperation easy.
Avoid area-skip scripts; teleport nonsense is an easy report in tiny lobbies.
After a successful unlock
- Celebrate briefly, then secure the new lane with practice throws.
- Reassess keep/fuse rules—new rarities may arrive.
- Check for fresh codes or event gifts on the Codes Hub.
- Update offline lineup before logging out.
- Skim Updates for hotfixes that sometimes follow map releases.
Related pages
- Throwing Strength — primary unlock stat beside food
- Perfect Throw — convert stats into distance
- Food Tier List — Shop order for gates
- Earn Money — fund repeated attempts
- Updates Hub — new area announcements
- Wiki Hub — official place link
Think of each area as a harder arena for the same sport. Bring better food, a stronger arm, calmer timing, and a Lucky Throw only when the gate is actually in reach.
Frequently Asked Questions
Quick answers about codes, Baddies, throws, and Money/s.
Why do new areas matter in Throw Food For Baddies?
Farther areas enable longer throws. Luck scales with distance, so new zones improve rare Baddie odds.
What stats unlock the next area?
Primarily better food upgrades and higher Throwing Strength, expressed through consistent perfect throws.
Should I use Lucky Throw to break into a new area?
Yes—if food and strength already make the gate realistic. Do not spend boosts while still drastically undergeared.
When is the next new area event?
A New Area + Admin Abuse session was announced for Sunday, November 22. Confirm details on the Updates Hub.
Do friends help with area progression?
Indirectly. The +15% income bonus refunds food and training faster so you can attempt unlocks more often.